The question of how to wear or tie a scarf you just purchased often has a relatively simple answer. Tying scarves is not as hard as it looks, and various attractive scarf tying techniques are rather easy to learn.
Before we start with the step-by-step scarf tying instruction guide, you have to familiarize yourself with the basic folding techniques and knots as tying instructions may refer to the basic scarf folds and knots.
BASIC FOLD
Basic Fold-1
 1. Take a square shaped scarf
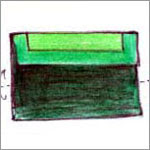 2. Start rolling the scarf to one side
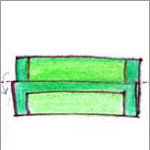 3. Bring the side that you are rolling towards the other
 4. Completely roll the scarf till the end
Basic Fold-2
 1. Take a square shaped scarf
 2. Fold the scarf in the shape of a triangle
 3. Now start rollign the scarf from the pointed end
 4. Roll the scarf towards the other end
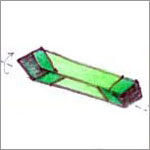
 5. When rolled completely, it should look like the illustration
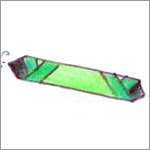
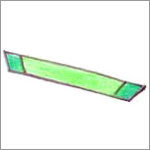
Basic Fold-3
 1. Take a square shaped scarf
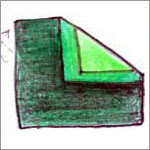 2. Fold the scarf the way it is shown in the illustration
 3. Fold the other side as well to get the shaped shown here
 1. Take a square shaped scarf
 2. Fold the scarf the way it is shown in the illustration
 3. Fold the other side as well to get the shaped shown here
Now that you know the 3 basic folds, you must know learn the BASIC KNOTS before moving on to the step-by-step scarf tying instruction guide. Pls see my post on BASIC KNOTS
credits:texere silk




No comments:
Post a Comment